
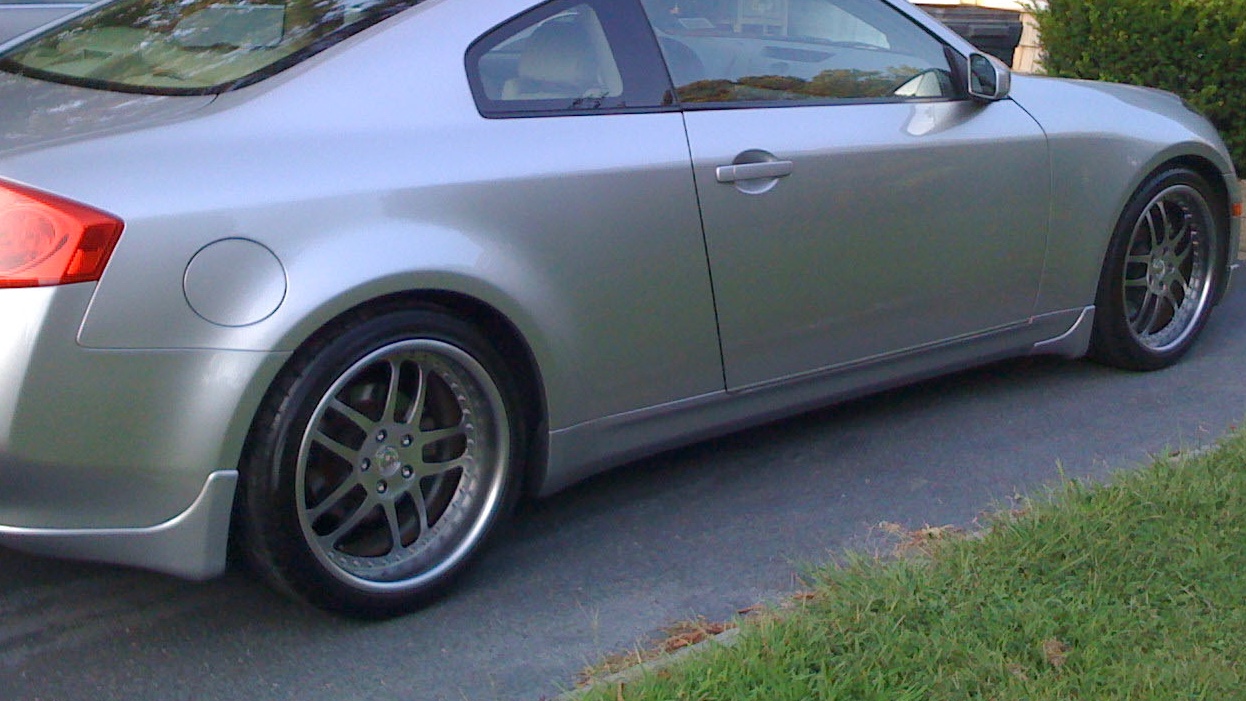
In December of 2003, I brought home a G35 Sport Coupe with leather and premium package (see original Window Sticker for full Specs). I first saw the G35 concept at the New York Auto Show a year or so earlier, and immediately thought it would be one of the most beautiful affordable cars on the road if the production version stayed true to the concept. Well, as Infiniti promised, the production version was strikingly similar to the concept. This meant that the production G-Coupe looked as if it should easily have cost twice as much as it did. At $31,550.00 without the premium package, the price was not far from a well-equipped Honda Accord Coupe EX-L V6. However, the cars were worlds apart. The G35 was rear wheel drive, 280 HP, 270 ft-lbs torque, tiptronic, and had a beautiful exhaust note. Meanwhile, "boring" would have been an understatement for the 2004 Honda Accord. As the Q60 Concept looms large, I thought I’d pay homage to my old G-Coupe by posting the ways in which I modified it over the years, my reasons for each modification, and of course tons of pics. Dive in after the break.
Wheels and Brakes
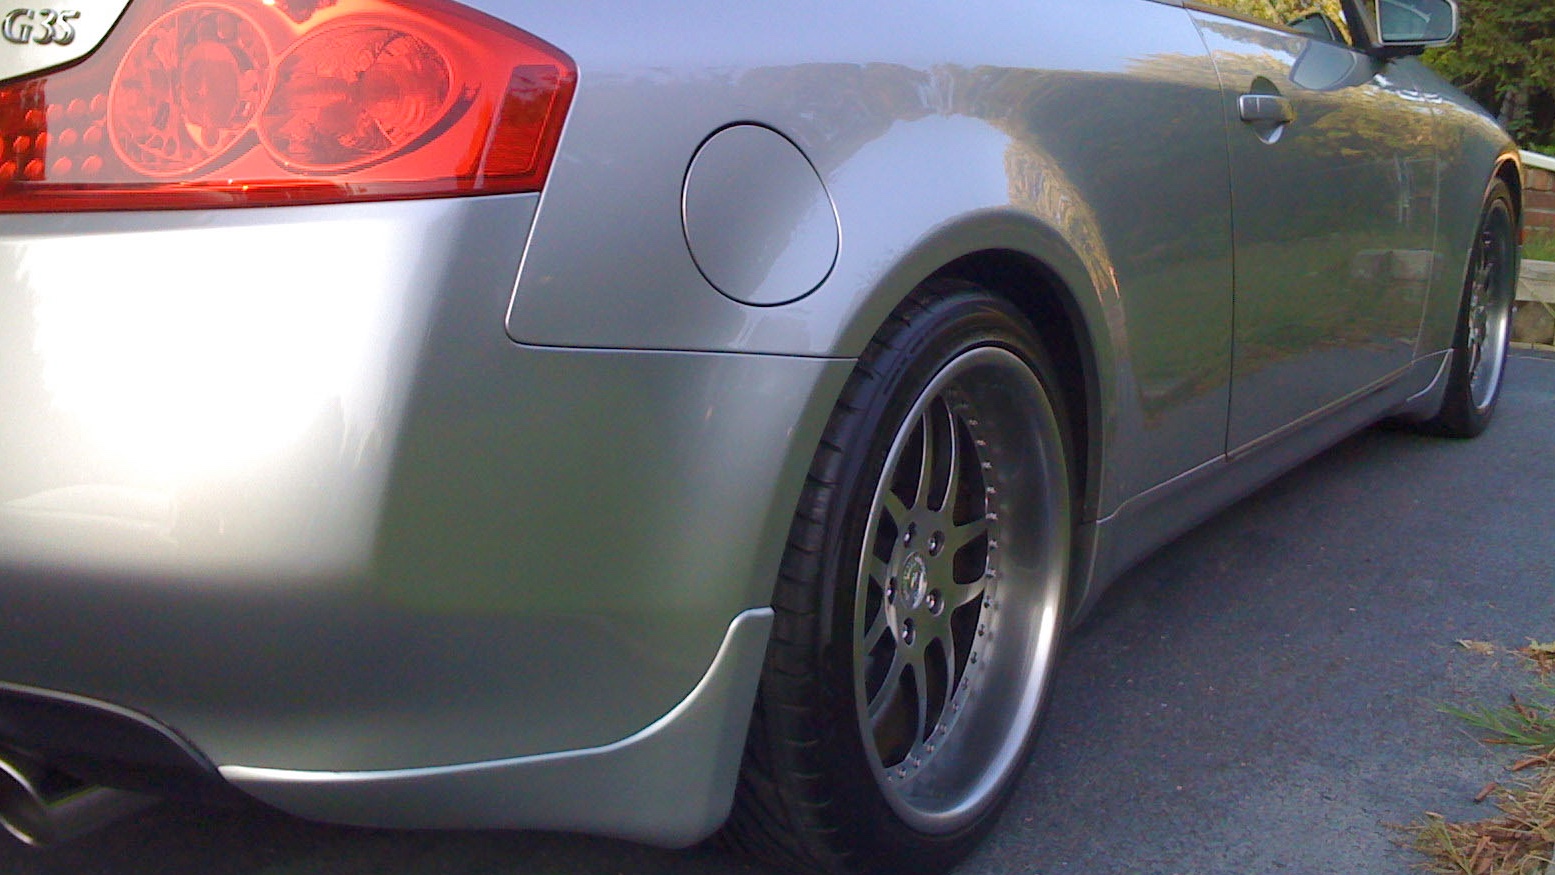
Wheels can make or break a car. One of the huge let downs of the current G37 Coupe has been the wheels. They're ugly in all iterations. The original G-Coupe 6MT wheels were great and so were the '08 and '09 G37S Sport wheels. Understanding the aesthetic importance of wheels on a vehicle, I decided on the then relatively unknown, iForged Performance Alloys for my G-Coupe. Specifically, I chose iForged's Evolution 2 piece wheels, polished, deep dish and staggered - 19X8 inches in the front and 19x9.5 inches in the rear. The Evolutions managed to be sharp and noticeable without being ostentatious.
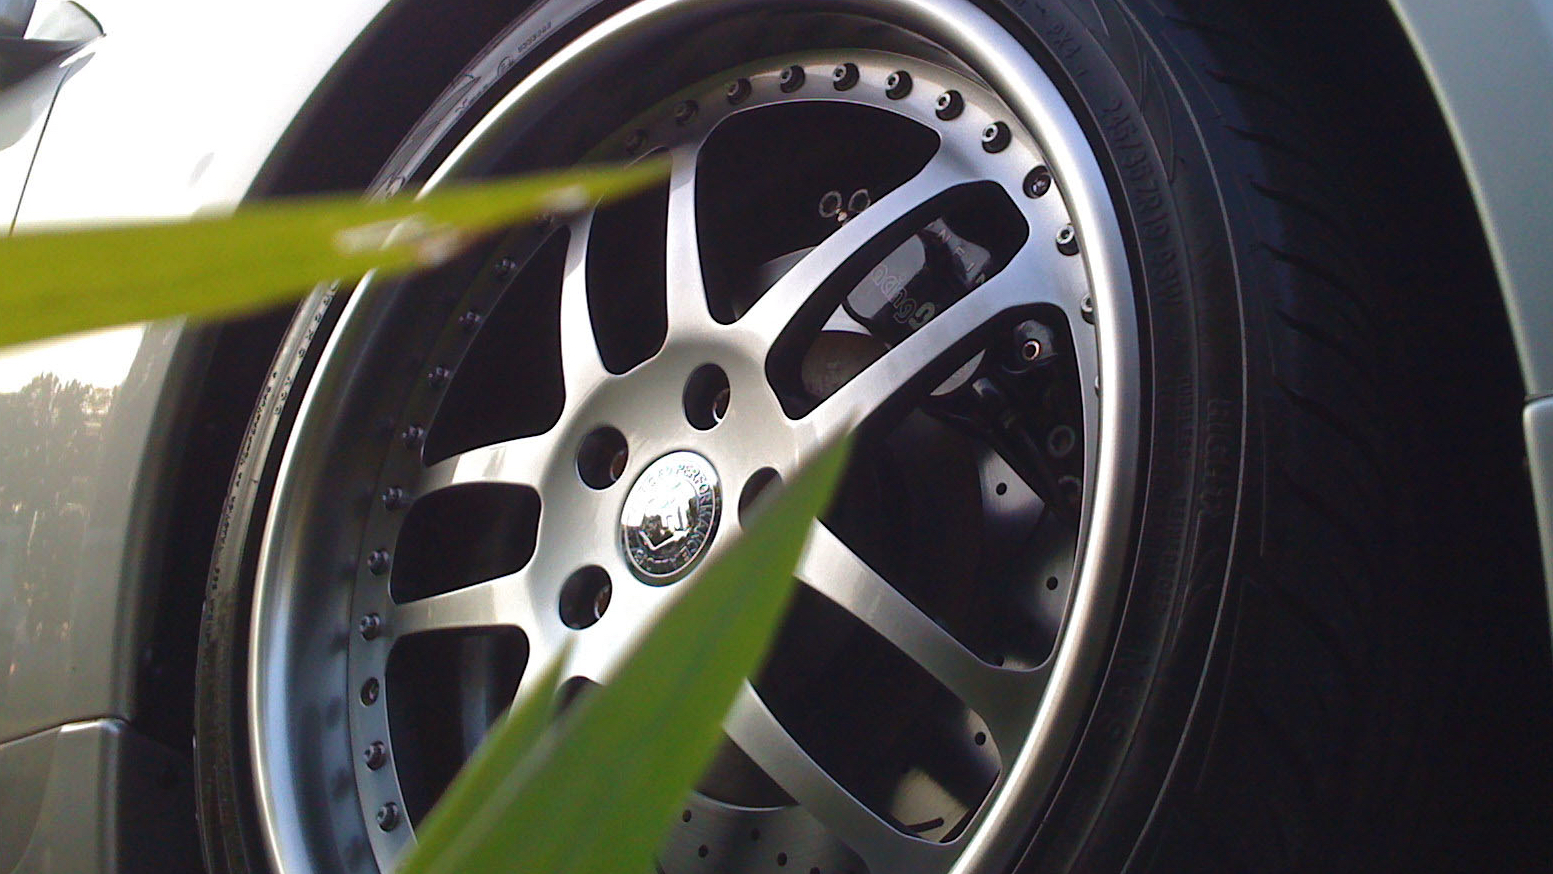
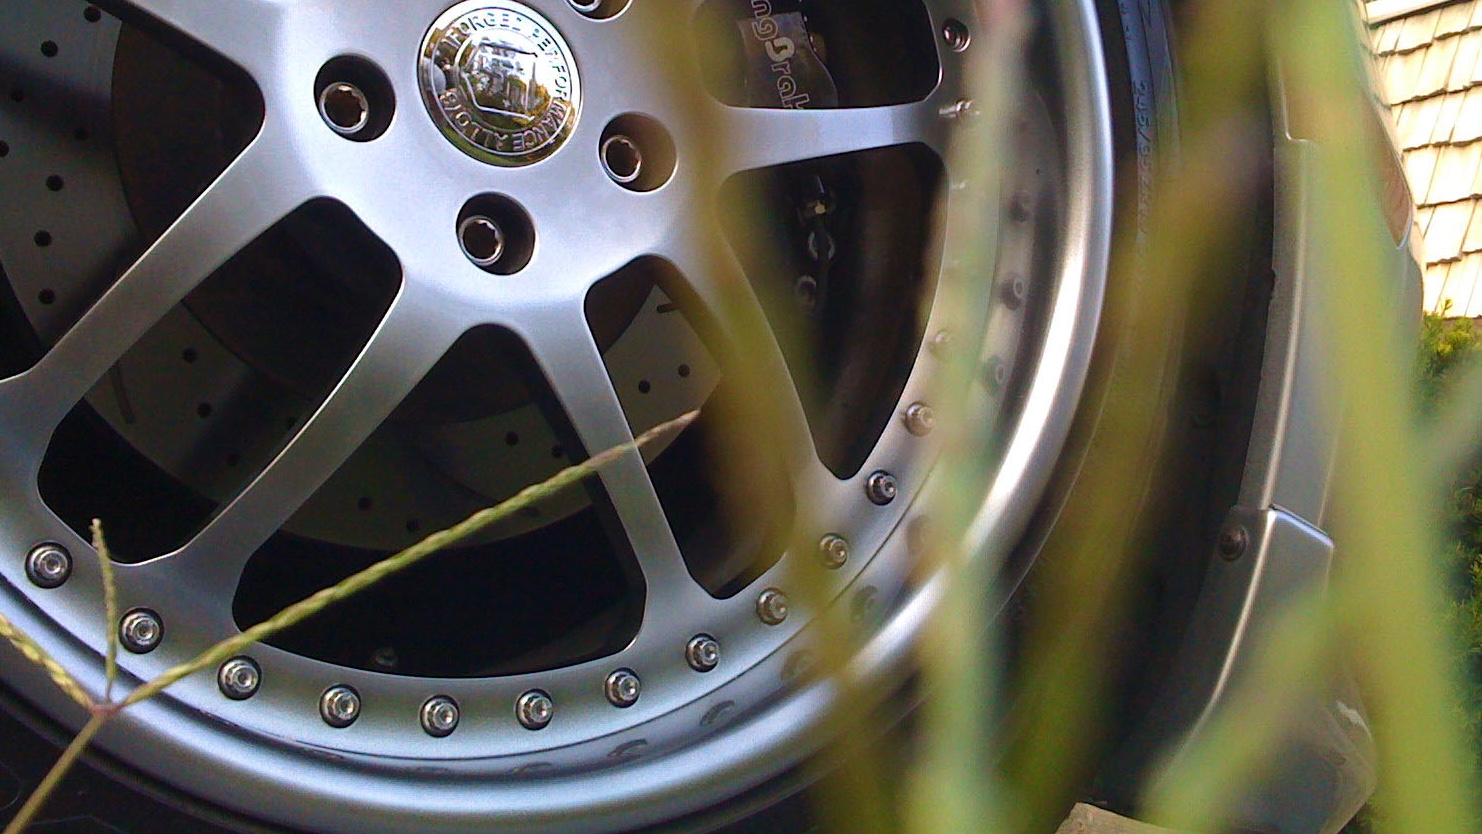
The downside of the wheels, was that they exposed the hideous non-Brembo caliper setup that had previously been obscured by the 17 inch OEM wheels. I bore the 'fugliness' for a while since even though the stock non-Brembo G35 brakes were notoriously terrible, Infiniti had saw fit to include complimentary brake maintenance service for the duration of the basic warranty. After that warranty expired, I changed the stock front caliper, rotors and brake lines. I went with Racing Brake's 4 piston caliper and 13.1 inch cross-drilled rotor set-up (including steel braided brake lines) for two reasons. First, it was the only company with a "big brake" set-up that would allow the stock 17 inch rims to be installed; Racing Brake's setup fit perfectly without being able to get so much as a finger in the space between the caliper and wheel. Second, Racing Brake was a semi-local american company, which operated out of New Jersey at the time (they have since moved to California). Stopping power was vasty improved. However, over the course of five or so years one of the screws used to hold the brake pads in place became loose due to tread wear, likely the result of mild over torque-ing. Though the metal may have been softer than it should be, I blame over tightening here as other screws were fine over time. Still if you purchase calipers from Racing Brake, pay close attention to the amount of torque applied when tightening the caliper screws.
Navigation and "Infotainment"
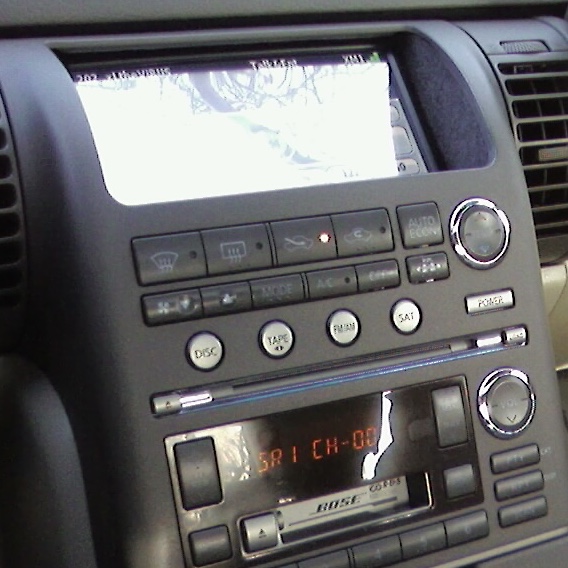
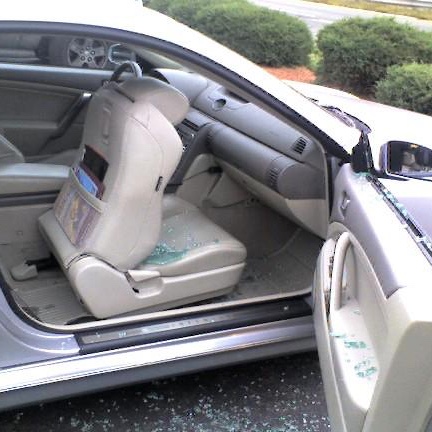
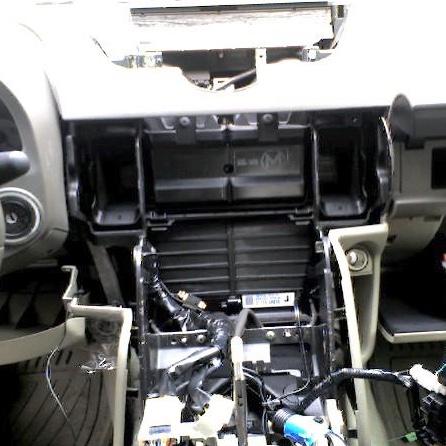
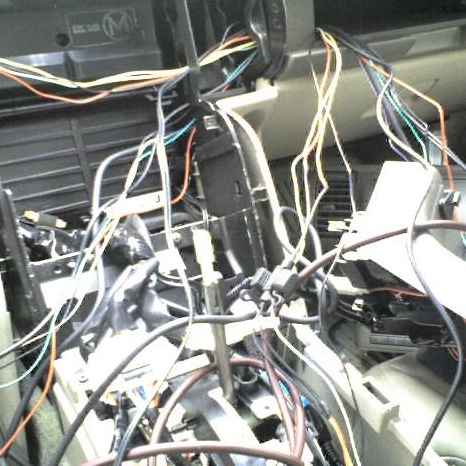
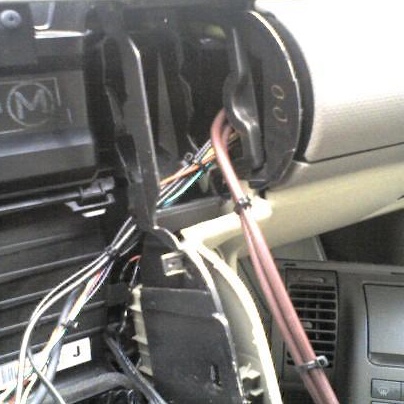
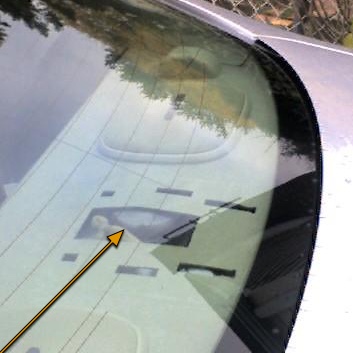
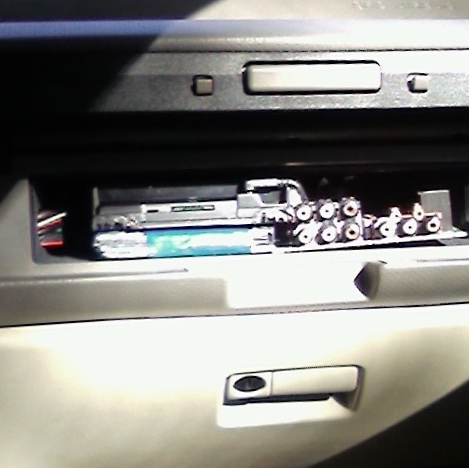
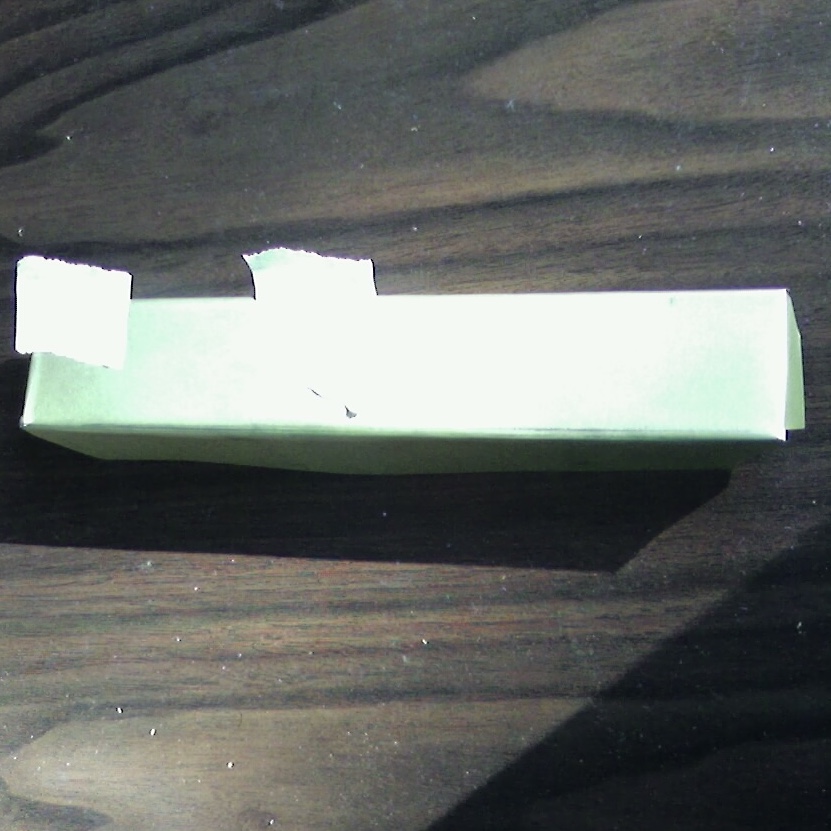
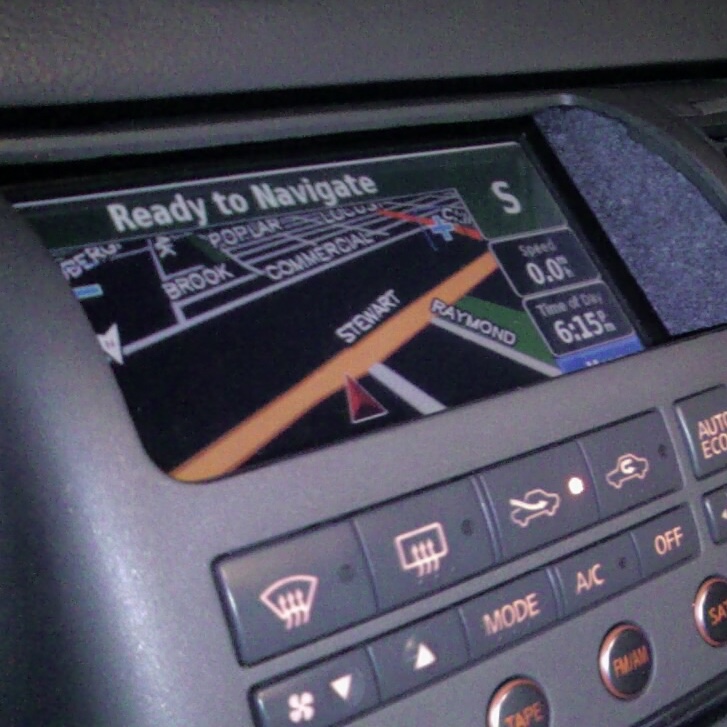
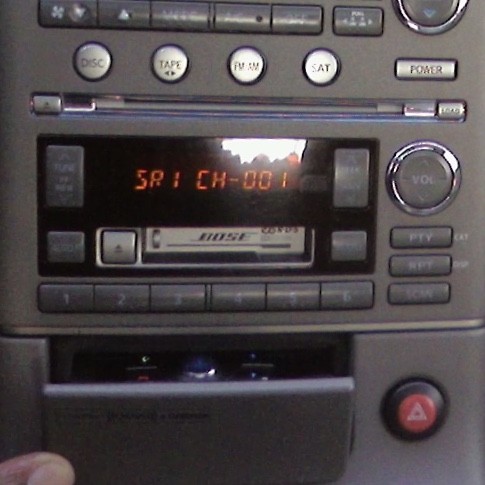
I would likely still have a portable Garmin stuck to my windshield, had some good samaritan not saw fit to smash my window, yank it from my windshield and speed away; as i sat in a lunch meeting in New Jersey, along with my drink, the server brought news that I would be needing a new door window. After 'the smashing' and on my way home it poured profusely. I remember thinking I would be safe on the lower level of the Verrazano Bridge only to be met with the strongest cross-breeze and bullet like raindrops that I can remember. I decided this was all the excuse I needed to go stealth, and hide all navigation and infotainment equipment in plain site. I purchased a Kenwood LZ-702W 7 inch widescreen touchscreen, a Kenwood KNA-G510 (Garmin Navigation), a Garmin GXM 30, XM audio and data Antenna, a PAC-SNI35, and a auxiliary adapter-splitter to add hard-wired input to the factory audio system. With a bit of elbow-grease I flush mounted the Kenwood screen in the pocket-cubby space. This required removing the pocket, creating two brackets to seal in the screen (Home Depot sheet Metal), and purchasing some felt with adhesive backing (Pearls or Amazon) to create a decent finish. Without boring you too much, I also tapped directly into the LZ-702W, by soldering a couple wires to the board to get the output and sound I wanted; The output excluded some audio and I have a long disdain for radio frequency transmitters. The pocket to the cubby was modified so that it could be used to seal of the screen when not in use and create a stock look, and the GXM 30 was hidden below the third brake light. It all worked really well. I added custom POIs to the set-up with reminders to check for cellphones before leaving a location, and which intersections were equipped with red light cameras (where you may forget or not know of a standing no-turn-on-red regulation).


Handsfree Setup
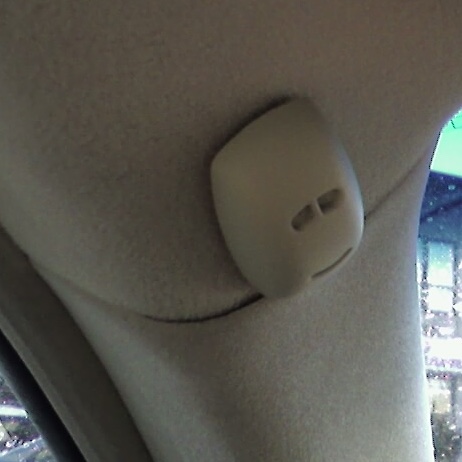

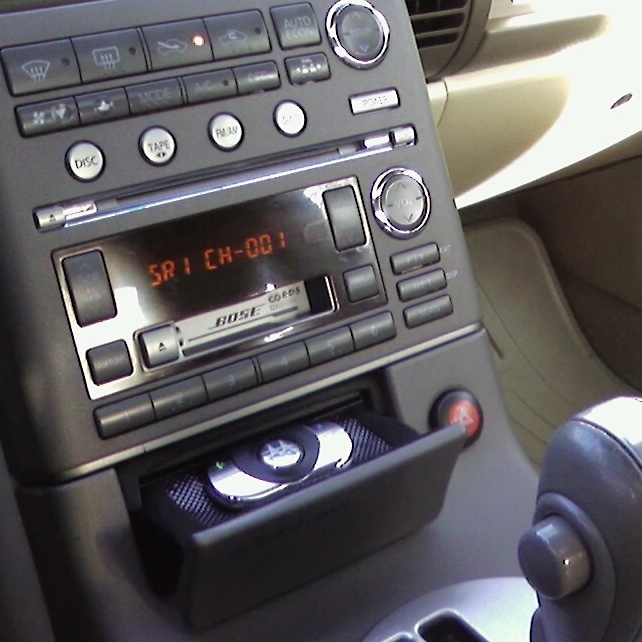
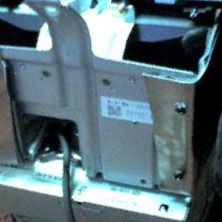
Since I had opted out of Infiniti's navigation and bluetooth system I needed a handsfree system as road safety rules banning cell phone usage cropped up. As usual I did more research than necessary on which product would fit my needs. I settled on the Motorola IHF-1000. Its an excellent bluetooth system. It had top notch sound quality and went for a reasonable price. One concern with the IHF-1000, was the lack of a dedicated display screen to display caller ID information among other things. I almost went with Parrot's offering for this reason, but was thwarted by the higher price and less renown at the time. Using Motorola's IHF-1000 I quickly learnt that you didn't need a screen; the voice command and announce worked quite well. [Digression: years later I would purchase the original Parrot Zik wireless Headphones with all the fancy multi touch, and was shocked by how terrible it sounded, and wondered if this was any reflection on their other products]. Before I installed Motorola's bluetooth, I painted the black mic piece to match the beige interior of my car (I wanted a black interior but was impatient). I mounted the IHF-1000 controller inside the ashtray, which I never used. Lastly, I mounted the speaker (great sound quality) under the dash, angled to avoid reverberations, and with foam surrounds to lessen vibration.
DIY Rear Diffuser
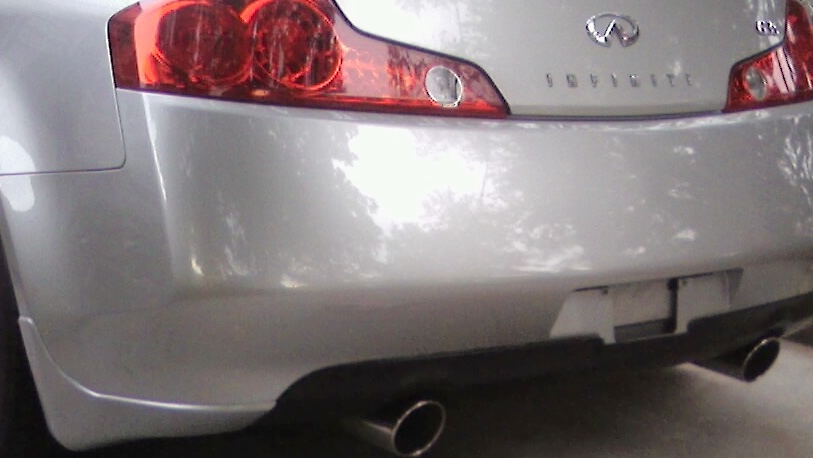
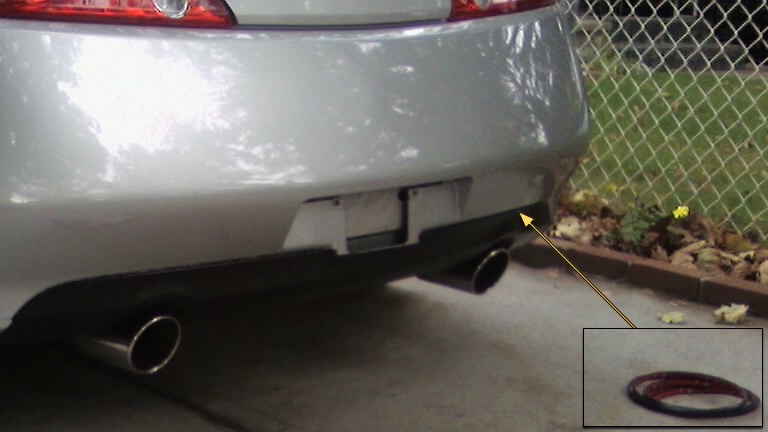
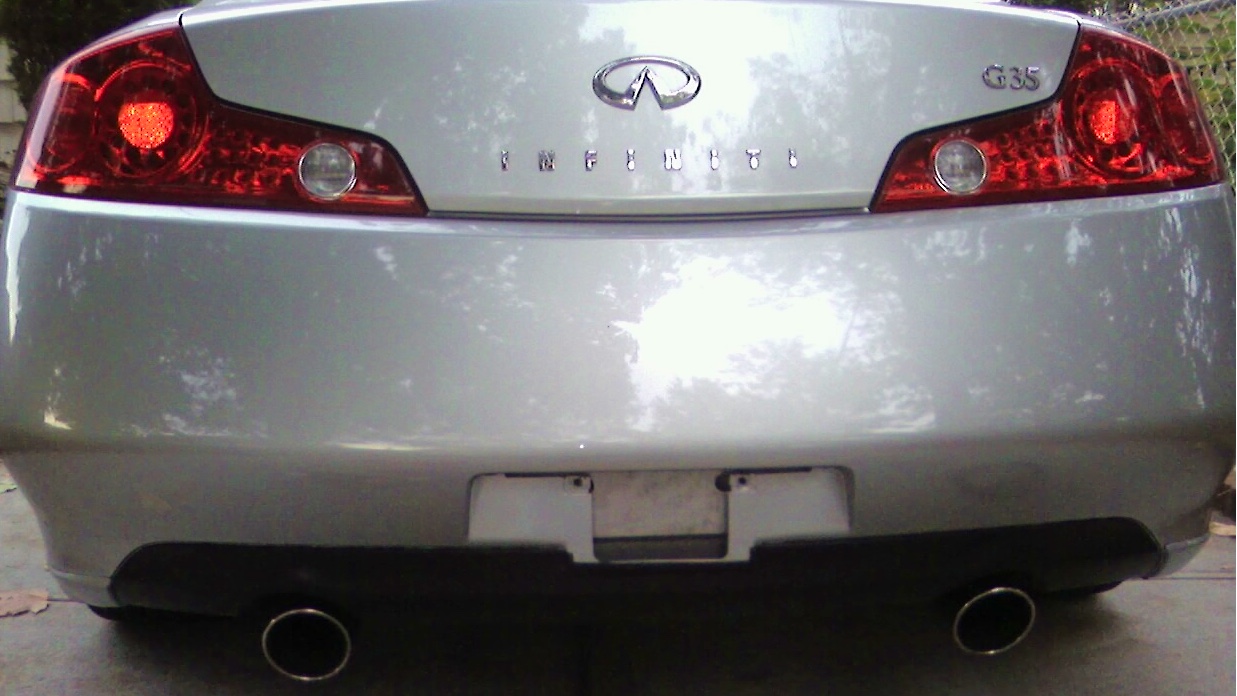
Lets face it, an aftermarket rear diffuser on a car with only about 300 HP does little to nothing outside of aesthetics. So why purchase an aftermarket rear diffuser (which is rarely fairly priced and decently designed) when you can make your own? The ingredients for a fine DIY rear diffuser is as follows: high quality flat/matte black paint, 1/4 - 1/2 inch wide thick rubber with adhesive 3M peel and stick tape as its backing. After procuring the items, simply mask and paint the lower area of your G-Coupe's rear bumper, using the groove as a guideline. After the paint dries, cut and stick the rubber mentioned to the length of groove along the rear bumper, tracing the groove so the diffuser appears finished. In a quarter day your G-Coupe will be looking decidedly meaner from the rear.
Under the Hood, etc.
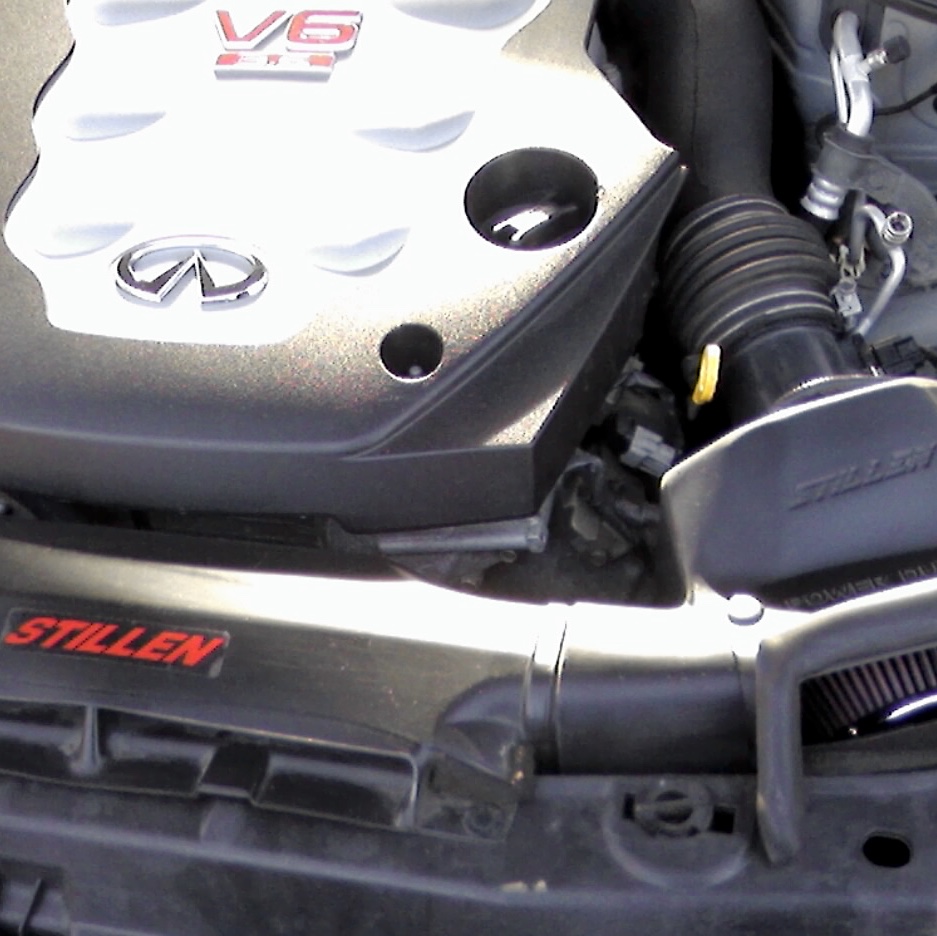
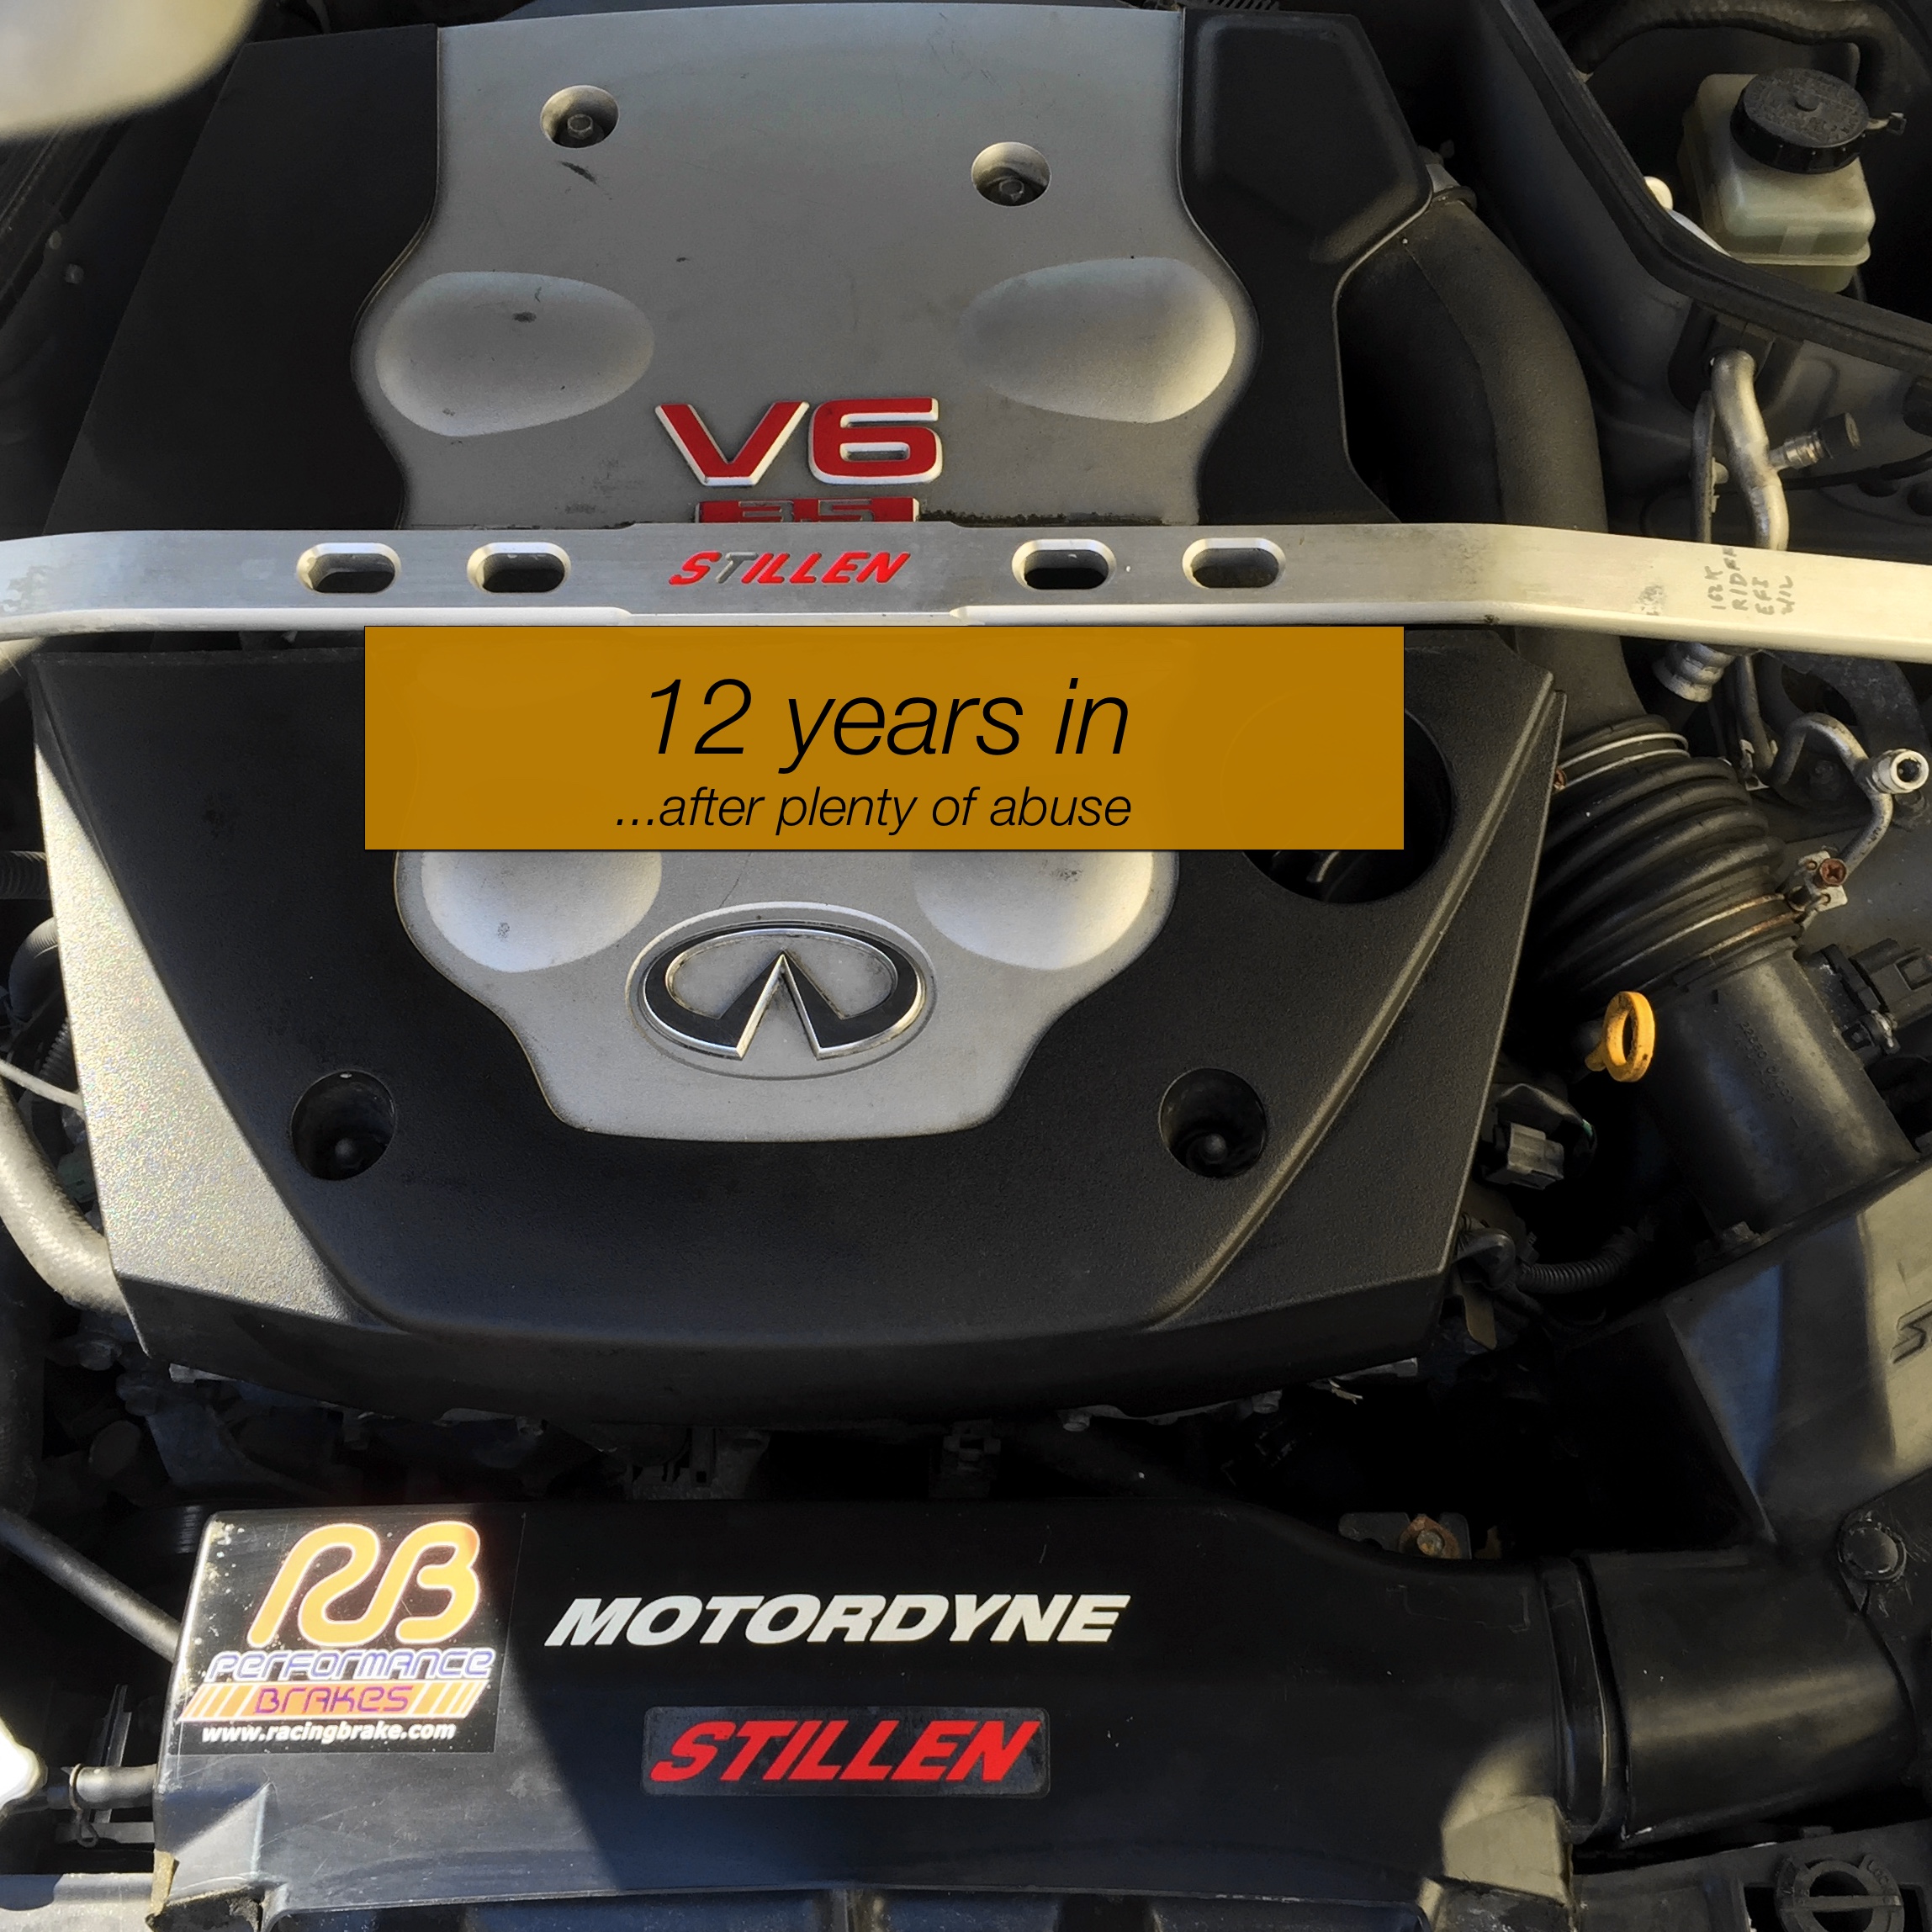
I kept the G-Coupe motor relatively stock. Its a rock solid engine and was tuned to provide a great driving experience at the outset. I eventually added a Stillen hi-flow z-tube air intake kit close to expiration of my basic warranty, or about 4 years after purchase. When my power-train warranty expired, I added a Motordyne 1/2 inch iso-thermal plenum spacer to the motor. If I thought the Stillen intake sounded great with its 'hiss' during sudden acceleration, I loved the sound of the motor after also adding the plenum spacer. I hardly, if ever, came upon another G35 that sounded like my G-Coupe, and could never get enough of driving through the Midtown tunnel late at night in third gear. Installation of both the intake and the plenum spacer is straight forward. They are true bolt on parts, and I needed only to carve out a bit of time for installation (and preparation of my workman's lemonade). The spacer installation took a bit more time than the intake, since it requires removal of the intake manifold. Motordyne recommends setting aside about 1.5 hours for the installation, and also mention that most people do the installation themselves.
While the Stillen intake barely added 5HP and was mostly for making you smile at the sound of your revving motor, Motordyne's Plenum Spacer added a real 11HP+ to the G-Coupe. Considering the price, it was well worth the investment. I noticed that I purchased slightly more gasoline after adding the spacer. I can't be sure whether this was as a result of revving my motor much more, for the beautiful music it now made, or if the car simply burned more fuel after installing the spacer. I would not be surprised if it were found to be the former.
Miscellaneous
Other modification include a Stillen strut tower bar, which seemed unnecessary since handling was decent before lowering my G-Coupe and even better after. Nonetheless, I learned that I had been living like an animal on Nissan's sport suspension (purchased from a "friend") after installing H&R's Street Performance Coil-overs. The H&R suspension, provided vastly superior ride quality and handling - a night and day difference. Installation of the Coil-overs was one of the few things, I decided not to tackle myself. Instead, I had Performance Motorsport in Smithtown New York do the installation. If you're looking for a speed shop, it may be worth the drive out on the island, they were professional enough and the shop was complete with a Dyno machine, spotless floors, and a Nissan GTR taken apart - a good sign to be sure. Finally, I added the OE aluminum pedals upgrade kit, which added a nice sporty feel to the interior - something about the metal pedals combined with the steel braided brake lines made it all feel wonderfully mechanical and connected.
Well, enough ranting about my Old G-Coupe. Soon enough we will see whether or not the all new Q-60 finally brings a worthy successor to the original G-Coupe. My hope is its much meaner and even more rawkus than the original leaving me no choice but to chant "the King is dead, long live the King."
